Customers/Users are the people/clients that you support. These are unique to your business, for example:
- IT Service Management (ITSM) – Internal staff or departments of your business
- Customer Service Management (CSM) – Your business’ external clients
- Computer Aided Facilities Management (CAFM) – Your buildings tenants or contractors
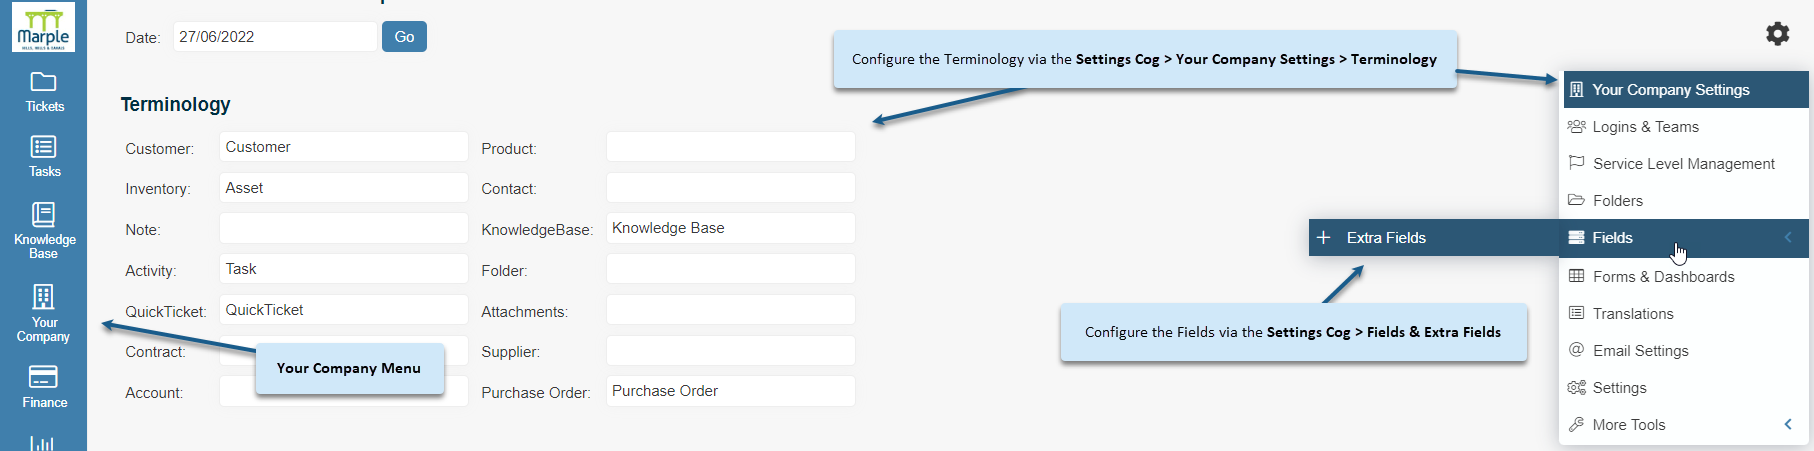
HotHs flexibility allows you to configure terminology to fit your business via Your Company Settings and field changes via Fields & Extra Fields:
For solutions that are supporting your business infrastructure (ie ITSM or corporate FM) then your clients here will be labelled as User for the individuals who work at your business. Your users (and associated logins) are typically updated nightly via a sync with Active Directory. In an ITSM solution you are not likely to have entries for Org (Organisations) or Contact.
If you are using a Customer Service Management solution or other business to business support, then your clients will be labelled as Customer and you may have entries for Org for grouping customers that belong to the same organisation.
Click the links below to learn more information:
- How to add Customer records
- Items of note within a Customer record
- How to add Organisation records
- Linking Customers to Organisations
- How to Configure the LDAP Interface
- How to Import and Export data in HotH
Adding Customer/User Records Manually
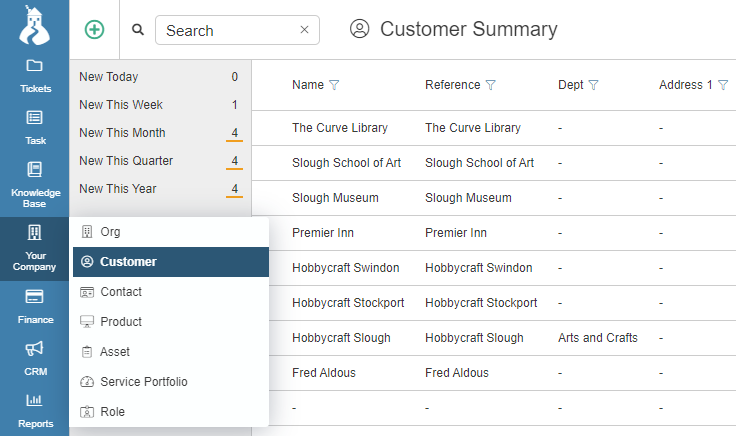
To manually add a record, navigate to Your Company > Customer to see a summary list of your customer records.
Use the Search box to filter the records based on the fields in the summary.
Note : In an ITSM solution Customer may be called User.
Click on the Add ![]() button in the top left of the dashboard to create a new individual record.
button in the top left of the dashboard to create a new individual record.
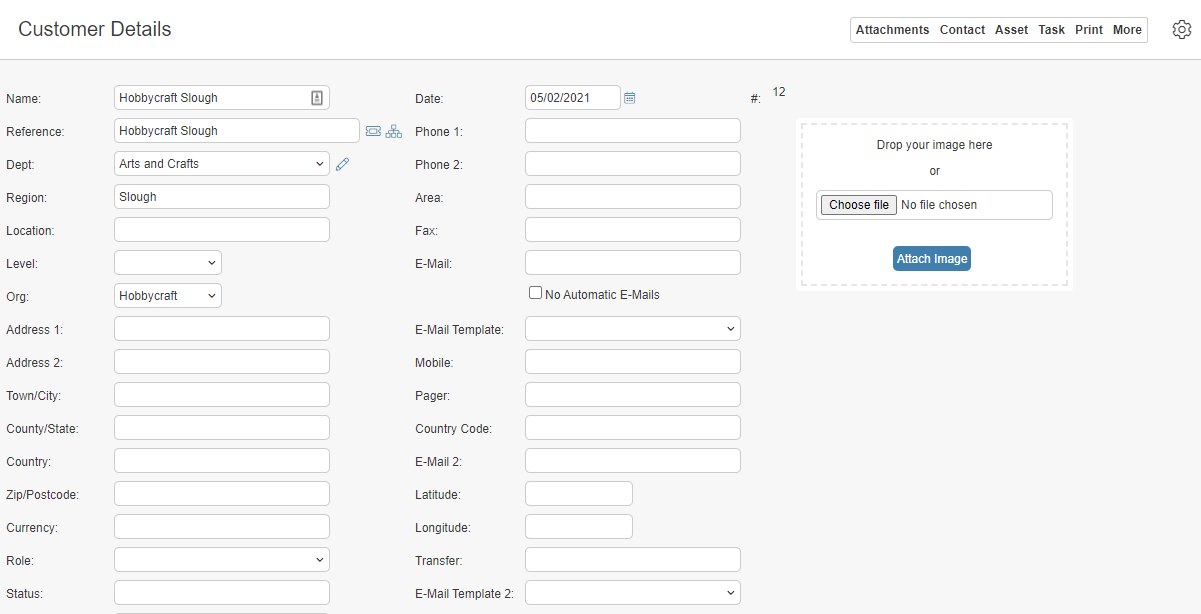
There are numerous fields in which you can add the data as is required, mandatory fields are highlighted.
The Department, Location, Phone 1 and Email fields are brought forward to the ticket when the customer is selected.
Click OK to save and return to the customer summary. Clicking Save lets you save and remain on the current record.
To remove a customer click the Archive checkbox and press OK.

It is possible to link a Contact record to a customer record.
Items of Note within a Customer Record
- Level – Select Org if this is the organisation
- Archive – Tick the Archive checkbox to remove the customer from the current list
- Contract – Select a linked Contract for this customer
- Expiry Date – You are alerted when logging a ticket and the expiry date has passed
- SLA – Use this field to select a Service Level agreement. Different customers may have different SLAs
- News – This news pops up when you log a ticket for this customer
- News on Closure – Any information here will be used when notifying closure of a ticket for this customer
- Make WebGuest Login – Click the button to make a login record for this customer/user
Adding Organisation Records Manually
Typically, organisations are used to group customers.
To manually add an organisation navigate to Your Company > Org to see a summary list of your organisation records.

Use the Add ![]() button in the top left of the dashboard to create a new individual record.
button in the top left of the dashboard to create a new individual record.
There are numerous fields in which you can add the data as required, mandatory fields are highlighted.
Click OK to save and return to the organisation summary. Clicking Save lets you save and remain on the current record.
Adding Organisations via a Customer Record
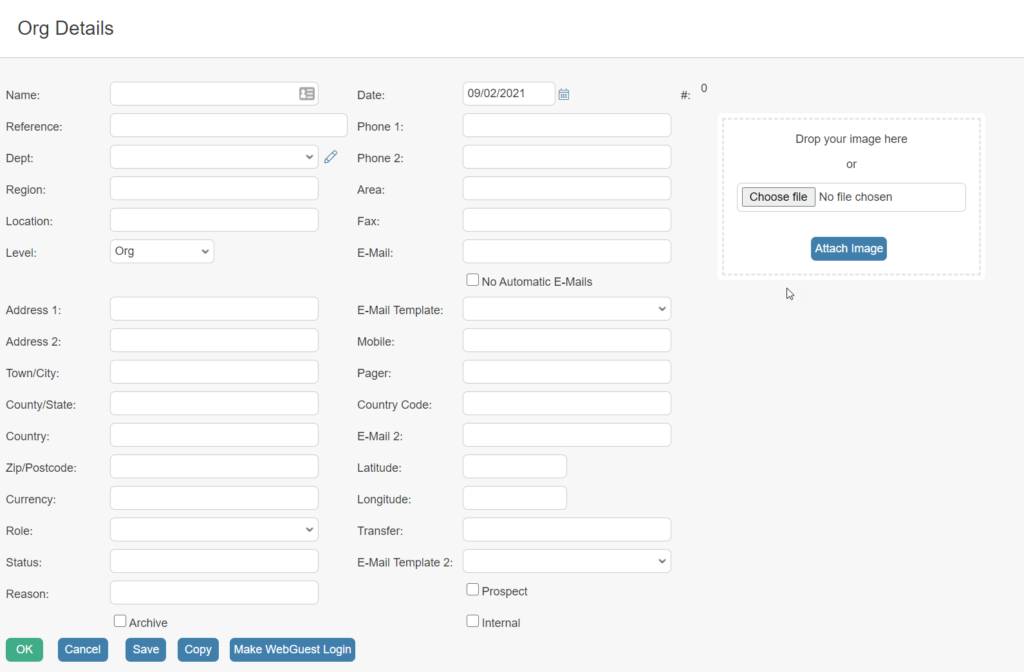
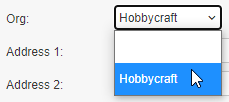
Another way to create an organisation record is to use the Level drop down to Org when creating a new customer record. See below:
![]()
The page will refresh to contain the necessary fields needed to complete an organisation record.
Click OK to save and return.
Linking Customers to Organisations
Click OK to save. The customer will now be linked to the organisation.
Still haven’t found what you’re looking for? Contact documentation@houseonthehill.com


